Figma Autolayout improves responsiveness and it is super easy to use. To ensure you have a perfect pages with autolayout follow these two simple steps:
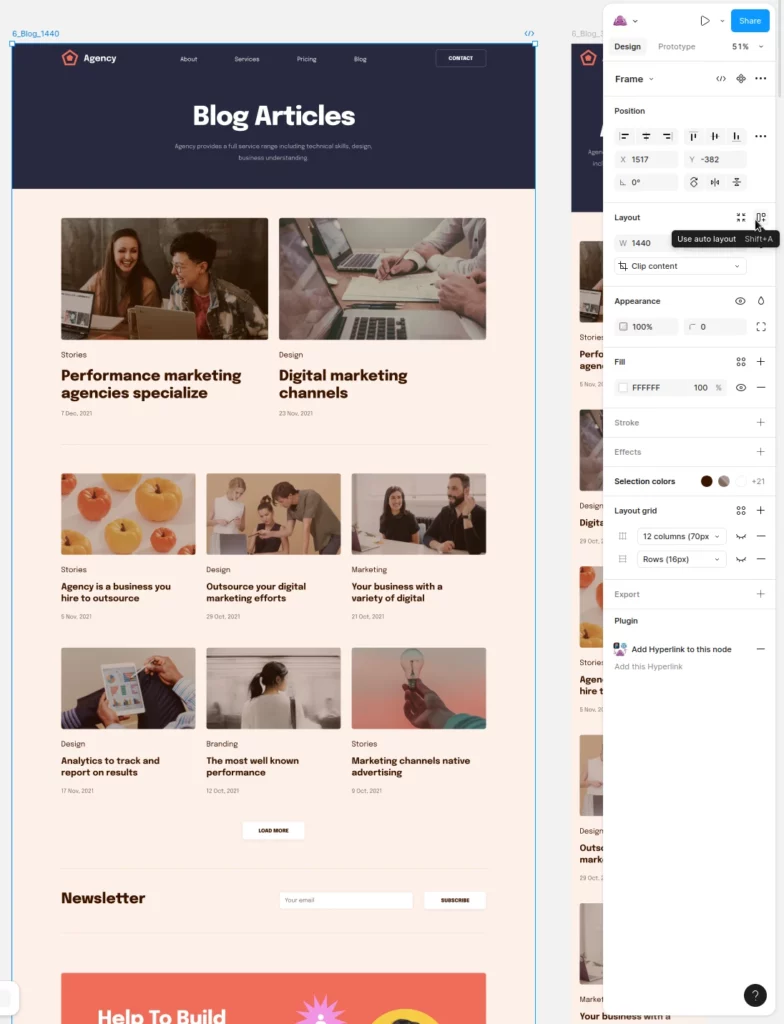
- Add autolayout to the frame of your page:
- Select the frame of your page
- Click on the autolayout icon as shown in the image below.
- If the content of your page moves around or the order changes after turning Autolayout on, breaking the design of your page, you need to apply Autolayout to all content first, so please do the step 2 first (see below). In this case, undo turning on autolayout with Command (⌘) + Z in Mac or with Ctrl + Z in Windows and proceed with the step 2.
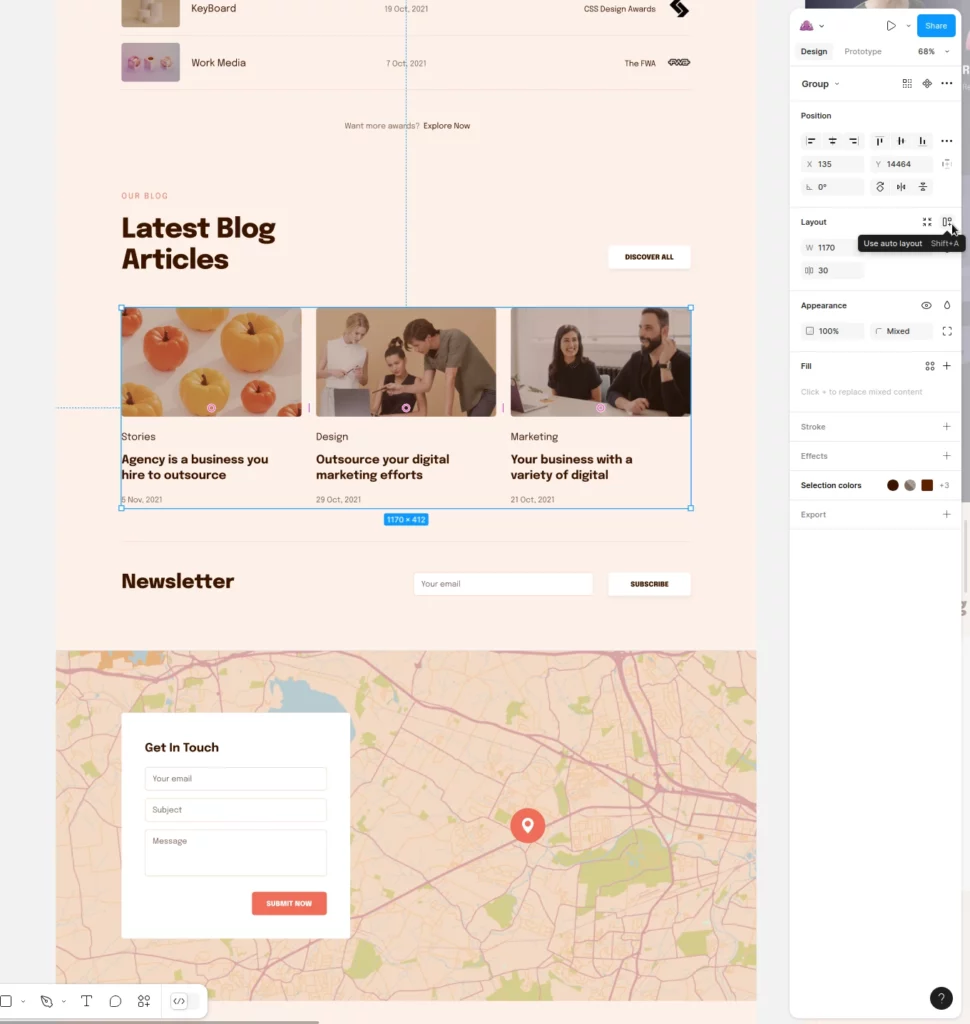
- Add autolayout to all the frames / groups / sections of your page. It is better to do this starting from inner groups / frames first and going up in the hierarchy of layers until you end up in your page frame.
For each frame:- Select the group/frame/section you want to add the autolayout to
- Click on the autolayout icon as shown in the image below.
- Adjust the autolayout properties to ensure the element behaves as you want for different frame sizes. Perfect responsiveness is typically accomplished by setting these properties in each frame:
– Width = Fill
– Height = Hug
– Wrap on (Optional for list of cards to wrap as in the image below). - Verify the frame content adapts to different sizes by resizing the frame in Figma (or by resizing the page containing the frame, see step 3 below).
Width = fill ensures the frame takes as much as width as its parent, so adding width = fill to all frames in the hierarchy of layers ensures width of all elements adapts ultimately to the page width which is the screen width.
Height = hug ensures height shrinks whenever possible, so wider pages will be shorter in height.
You can combine this with max-width / max-height if needed.
The process is really easy once understood and can be verified in Figma as explained in the next section. If you want our Designers to apply Autolayout to your designs please consider the Design Support included in our Design Plans.
If all groups/frames/sections in the hierarchy have Autolayout adjusted as well as the page itself, your design will be fully responsive.
HOW TO VERIFY AUTOLAYOUT IS WORKING IN FIGMA
When you resize your page frame in Figma, if Autolayout is active in the page frame AND the content, and the content autolayout properties have been correctly set, your frame content should adapt to any page width. The following video shows this on the design below (that you can use):
- FIGMA DEMO DESIGN: https://figma-to-wordpress.com/demo-figma-design
- GENERATED WORDPRESS THEME: https://figma-to-wordpress.com/demo-wordpress-theme
You can check the autolayout properties of DEMO DESIGN. Open the design and duplicate it by clicking on the design name (top-left) and choose Duplicate to your drafts. Then simply select any design element to see the autolayout properties on the right panel.
That’s all !
With Autolayout enabled for your page and sections, you can define how they will behave sizes different to the ones they have in the original design.
We recommend you to explore the autolayout options in the official Figma documentation, or ask any questions in our Live Chat by clicking the button below. We will be happy to help you getting your Figma design as WordPress theme in no time!